Kako ustvariti vnos
Vnose v CLARIN.SI repozitorij deponirajo njihovi avtorji. Vsak vnos mora vsebovati popolne in pravilne metapodatke, podatki pa morajo biti dobro dokumentirani in v formatih, ki so odprti in se uporabljajo v njihovih skupnostih, vprašanja avtorskih pravic morajo biti razrešena, hkrati pa morajo vnosi vsebovati jasne pogoje uporabe in informacije o licencah vira. Avtor vnosa mora elektronsko podpisati Sporazum o distribuciji virov, s katerim potrjuje, da je imetnik avtorskih pravic za podatke, ki jih vsebuje vnos, in s tem lahko podeli pravice iz izbrane licence.
Ko je vnos oddan v repozitorij, je predložen v uredniški pregled, s katerim se zagotovi, da izpolnjuje zahteve repozitorija CLARIN.SI. Prosimo, pozorno preberite sledeče smernice, in se s tem izognite nepotrebni zavrniti vašega vnosa. Če imate nadaljnja vprašanja o vnosu, ki ga želite deponirati, se obrnite na našo Službo za pomoč uporabnikom
V spodnjem besedilu je opisan postopek oddaje novega vnosa v repozitorij. Kako naj bodo oblikovani sami podatki (tj. jezikovni vir) je razloženo v Smernice za oddajo podatkov CLARIN.SI, medtem ko je postopek ustvarjanja nove različice vnosa pojasnjen v Ustvarjanje nove različice vnosa.
Kazalo
Prijava
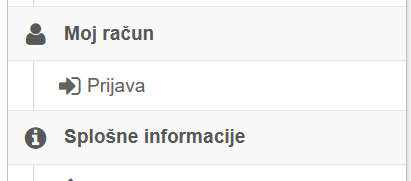
Če želite ustvariti nov vnos, se morate najprej prijaviti v repozitorij. V desnem meniju na zavihku "Moj račun" kliknite na "Prijava".
Ustvarjanje novega vnosa
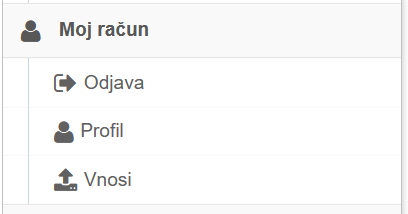
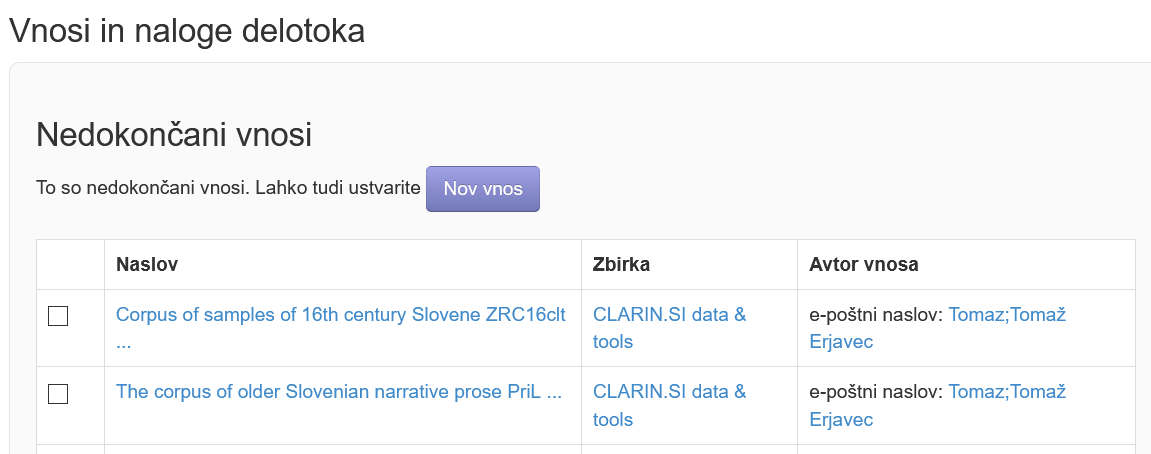
V zavihku "Moj račun" se je pojavil nov menijski element "Vnosi". Kliknite na "Vnosi", da odprete stran "Vnosi in naloge delotoka". Zdaj se nahajate na glavni strani vnosov in nalog v delotoku, kjer lahko vidite svoje nedokončane/arhivirane vnose. Da ustvarite nov vnos, kliknite na gumb "Ustvari nov vnos".
Shrani in deli vnos

Ko ste vnesli informacije o vnosu (podrobneje opisano v spodnjem besedilu), lahko kliknete na "Shrani in zapri" na dnu zaslona, da shranite delno izpolnjen vnos in delo nadaljujete pozneje. Izberete lahko tudi možnost "Shrani in deli", kjer se vam bo na zaslonu izpisal URL naslov, hkrati pa ga boste prejeli tudi na vaš elektronski naslov. Če pošljete URL naslov drugim osebam, bodo te lahko (po uspešni prijavi) nadaljevale delo na vnosu. Na tak način lahko omogočimo dostop večjemu številu avtorjev, da lahko preverijo ali dopolnijo podatke in vnos.
Trajni identifikator

Zaslon 1: Osnovne informacije o vnosu

Ustvarili ste nov vnos v delotoku. V naslednjih nekaj korakih boste dodali podrobnosti o vnosu (oziroma njegove metapodatke) in naložili datoteke. Najprej izberite vrsto vira, ki ga boste vnesli v repozitorij.
Kliknite na enega izmed virov, ki najbolj ustrezajo naravi vašega vira, nato vnesite osnovne podatke o vnosu.
Naslov
Naslov naj vsebuje zelo kratek opis vira, ki naj mu sledi njegovo dejansko ime, ki je v večini primerov akronim. Če obstaja možnost, da boste v prihodnosti naložili novo različico vira, naslovu dodajte oznako "1.0" in s tem označite, da gre za nov vir. Razen prve besede akronima, imen jezikov, in (če so) lastnih imen, vse ostale besede v naslovu pišite z malo začetnico. Nekaj primerov iz repozitorija CLARIN.SI:
- Automatically sentiment annotated Slovenian news corpus AutoSentiNews 1.0
- Concreteness and imageability lexicon MEGA.HR-Crossling
- Dictionary of Slovenian Particles
Reference
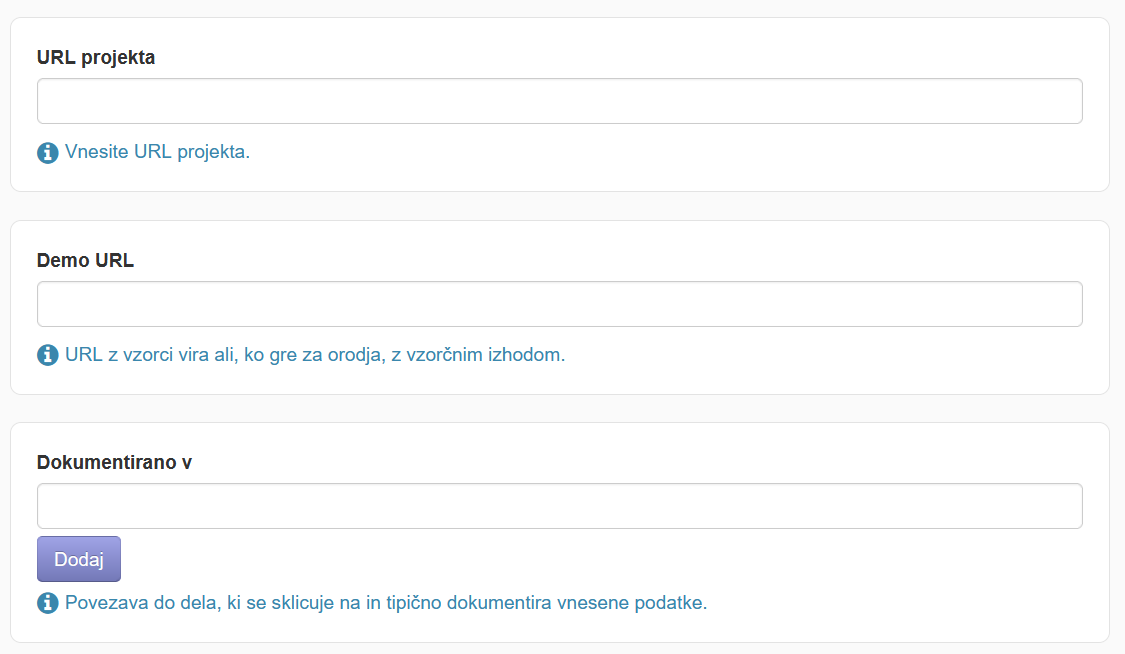
V naslednja polja (URL projekta, Demo URL, Dokumentirano v) vnesite URL kjer ta za vnos obstaja:
- "URL projekta" poda URL projekta, v sklopu katerega je bil vir ustvarjen.
- "Demo URL" poda URL spletne aplikacije, kjer je je vir dostopen za npr. branje ali analizo. Na primer, če ste naložili korpus, je ta morda na voljo v digitalni knjižnici, strojno berljivi slovar na slovarskem portalu, računalniški program pa prek API-ja.
- "Dokumentirano v" vsebuje URL(je) naslovov publikacij, v katerih je vnos predstavljen. Če ima publikacija DOI URL, je potrebno uporabiti tega.
Datum izdaje
Zaslon 2: Sodelujoči posamezniki in organizacije
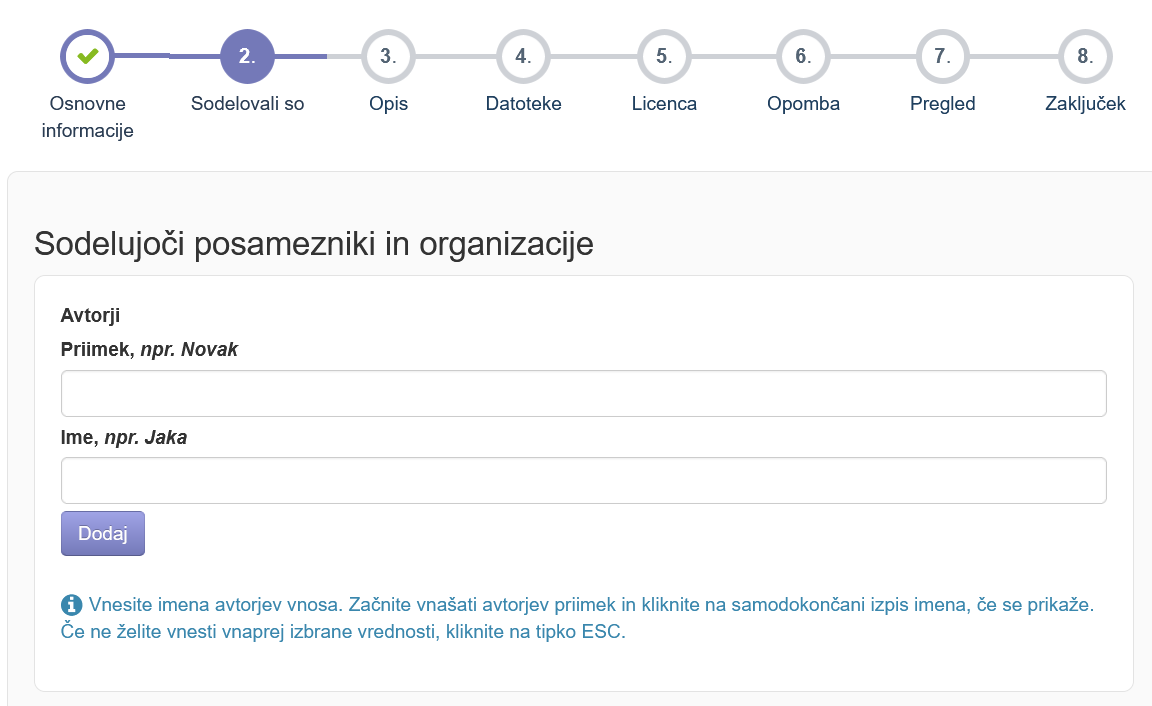
Naslednji zaslon vsebuje polja za opis posameznikov, organizacij in projektov, ki so bili vključeni v izdelavo vira.
Kontaktna oseba
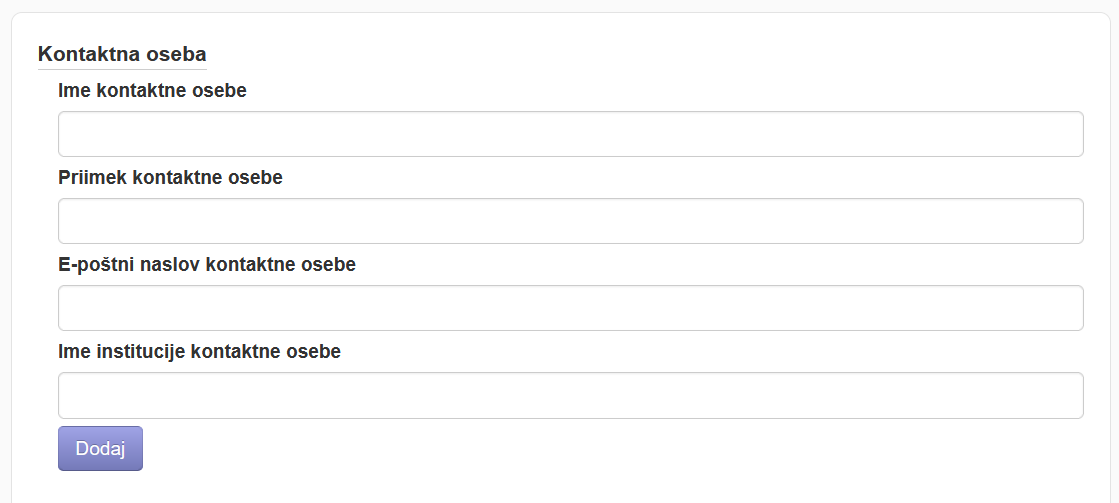
V naslednjem delu navedite ime, elektronski naslov in institucijo kontaktne osebe za ta vnos. Kontaktna oseba je tipično (vendar ne vedno), oseba, ki oddaja vnos. Možno je vnesti tudi več kontaktnih oseb.
Financiranje
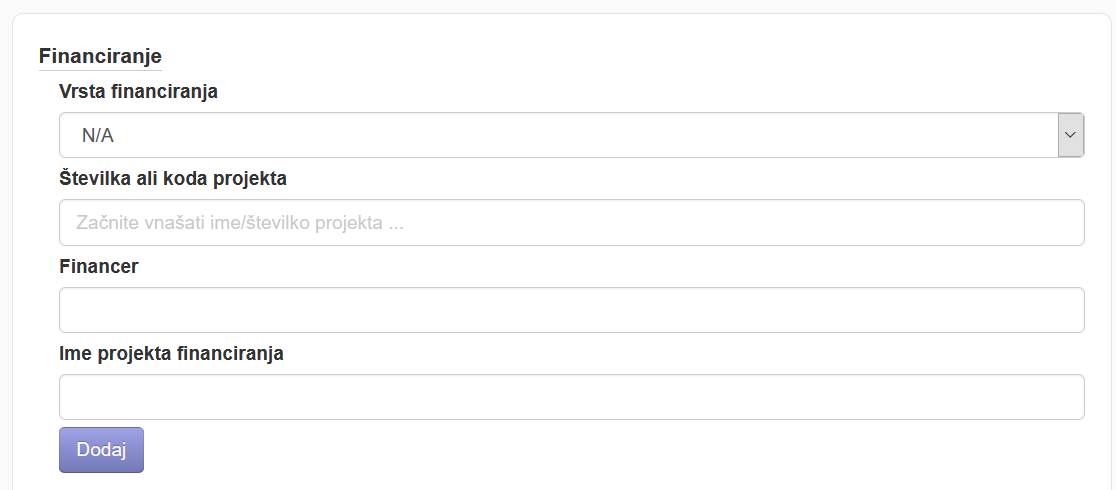
Zadnja polja na tem zaslonu služijo vnosu podatkov o projektih, ki so financirali izdelavo podatkov. Najprej izberite vrsto financiranja, nato kodo projekta, organizacijo, ki je projekt financirala in ime projekta. Seveda je lahko izdelavo vira financiralo več projektov.
Nekaj primerov iz obstoječih vnosov:
- EC 610704 "SIMPOL"
- Ministry of Culture C3340-20-278001 "Development of Slovene in a Digital Environment"
- ARRS (Slovenian Research Agency) P2-103 "Knowledge Technologies"
Ko ste vnesli vse informacije na drugem zaslonu, kliknite "Naprej" in nadaljujte z naslednjim korakom.
Zaslon 3: Opis vira
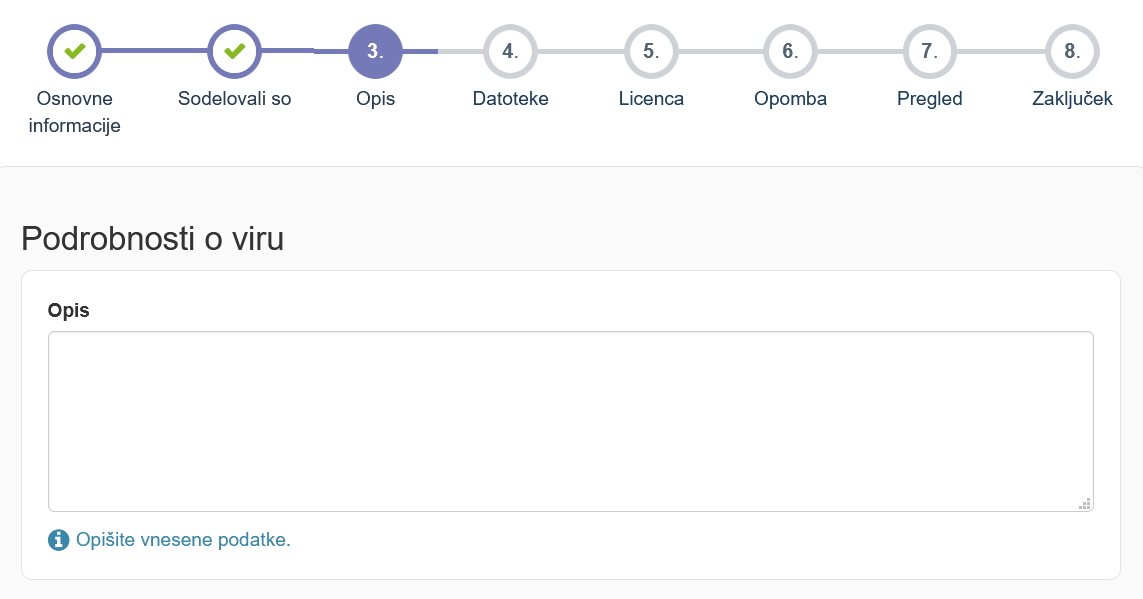
Informacije, vnesene na tem zaslonu, opisujejo vir in so zelo pomembne za vse tiste, ki bi radi poiskali in uporabili vaš vir.
Opis
Opis vira naj vsebuje približno pol strani besedila, ki opiše vsebino vira, poda okvirno velikost vira in opis osnovne strukture podatkov v viru. Kjer je možno, naj opis vsebuje tudi podatek o ciljni uporabi vira. Za korpuse naj opis vsebuje tudi časoven okvir publikacije zajetih besedil, npr. "This corpus contains newspaper articles from 2001 to 2019". Če želite v opisu omeniti bibliografske navedbe (predvsem ta publikacije, ki niso dostopne na spletu) jih dodajte na koncu opisa, vsako v svojem odstavku. Opis je možno dopolniti tudi z URL naslovi na spletne strani, ki opisujejo različne vidike vira, npr. na nabor jezikoslovnih oznak, ki je bil uporabljen pri označevanju. Če je vir nova različica že obstoječega vira, mora zadnji odstavek opisa vsaj na kratko našteti glavne razlike med obema različicama.
Kliknite na spodnje povezave in si oglejte nekaj primerov opisov:
Jezik
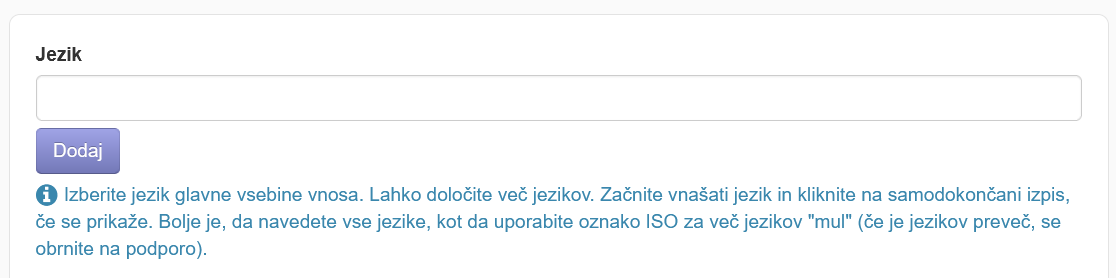
V to polje vnesete jezik oz. jezike, ki jih vsebujejo podatki vira. Začnite tipkati ime jezika in uporabite obrazec za samodokončanje, ki se bo prikazal. Po repozitoriju CLARIN.SI lahko tudi brskate po jeziku virov (Brskanje po jeziku).
Ključne besede
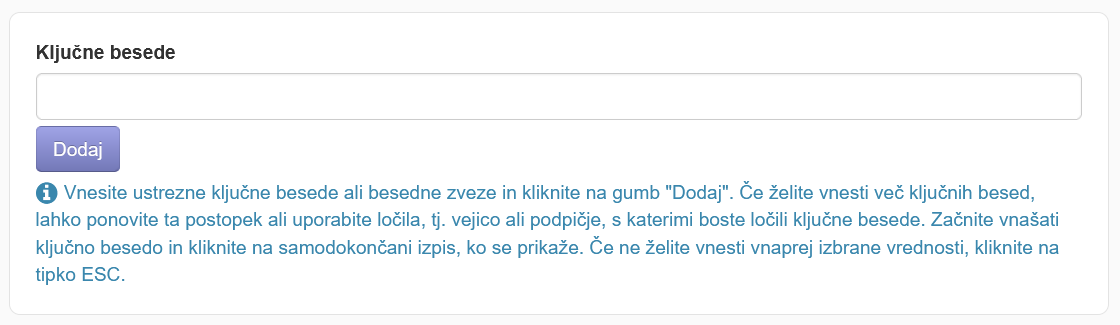
V polje je potrebno vpisati vsaj eno ključno besedo, vendar jih je bolje vpisati več. V repozitoriju je tudi možno brskati po ključnih besedah
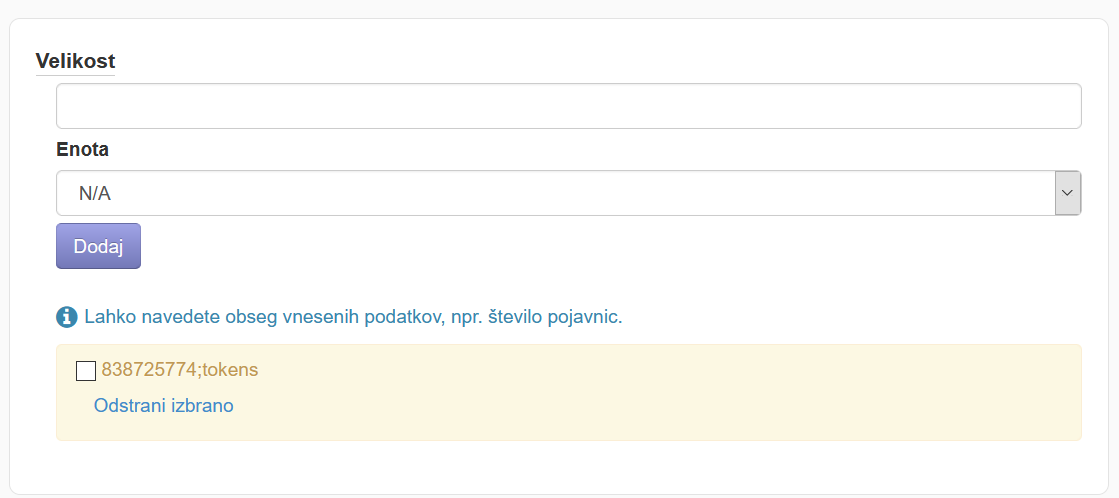
Velikost
Velikost vira je potrebno zapisati v čim več smiselnih kategorijah.
Vrsta medija

Tu je iz spustnega seznama potrebno izbrati natančnejšo kategorijo vira.
Ko zaključite z izpolnjevanjem potrebnih informacij, kliknite "Naprej", da v naslednjem koraku naložite datoteke.
Zaslon 4: Nalaganje datotek
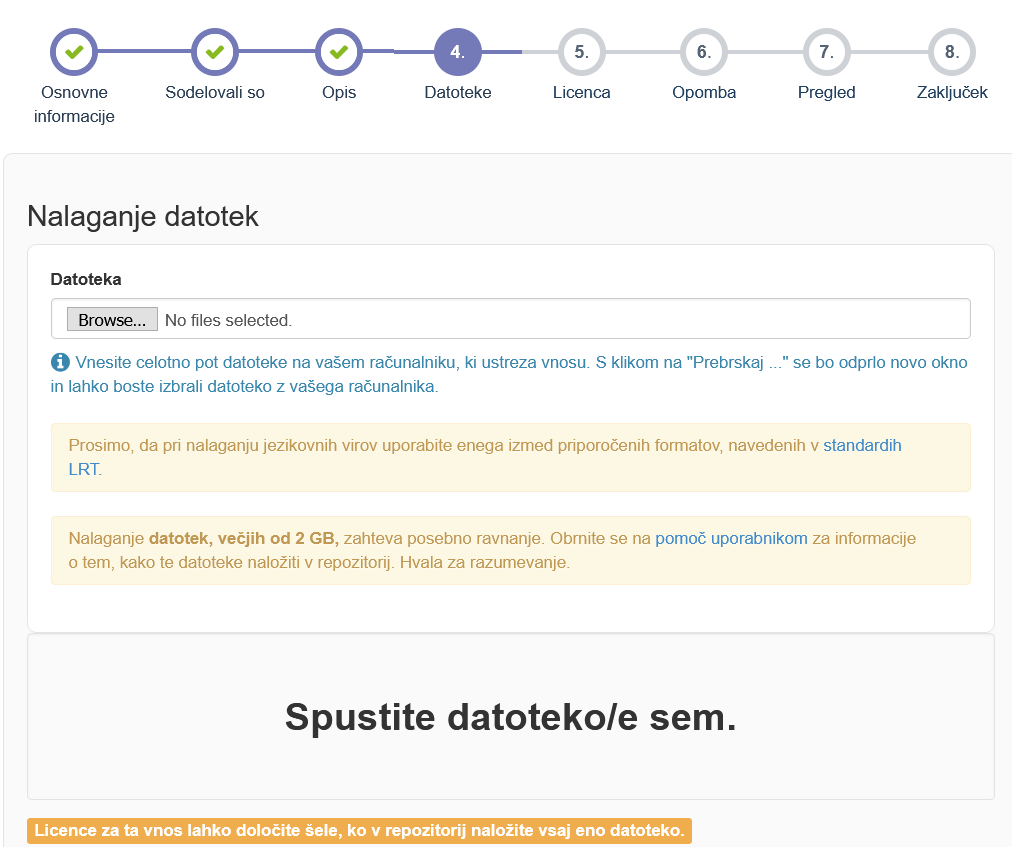
V tem koraku boste naložili datoteke z vsebino svojega vnosa.
Datoteko lahko dodate tako, da kliknete na gumb za brskanje in želeno datoteko izberete v računalniku, lahko pa jo neposredno povlečete in spustite v sivo območje z besedilom "Povlecite in spustite datoteke tukaj" (Drag and Drop file(s) here). Datoteko lahko naložite tudi z URLja. Izbira datotek odpre pogovorno okno, kamor morate vpisati kratek opis za vsako datoteko. Da začnete proces nalaganja, kliknite "Začni prenos".
Nalaganje datotek, večjih kot 2 GB, zahteva posebno obdelavo. Prosimo, obrnite se na Službo za pomoč uporabnikom.
Ko je nalaganje datotek končano, kliknite OK, da zaprete pogovorno okno. Dodate lahko več datotek, izbrišete že naložene datoteke, ali spremenite njihov opis ali zaporedje prikaza. Ko zaključite, pritisnite "Naprej", da v naslednjem koraku nadaljujete z izbiro licence za vaš vnos
Zaslon 5: Izbira licence
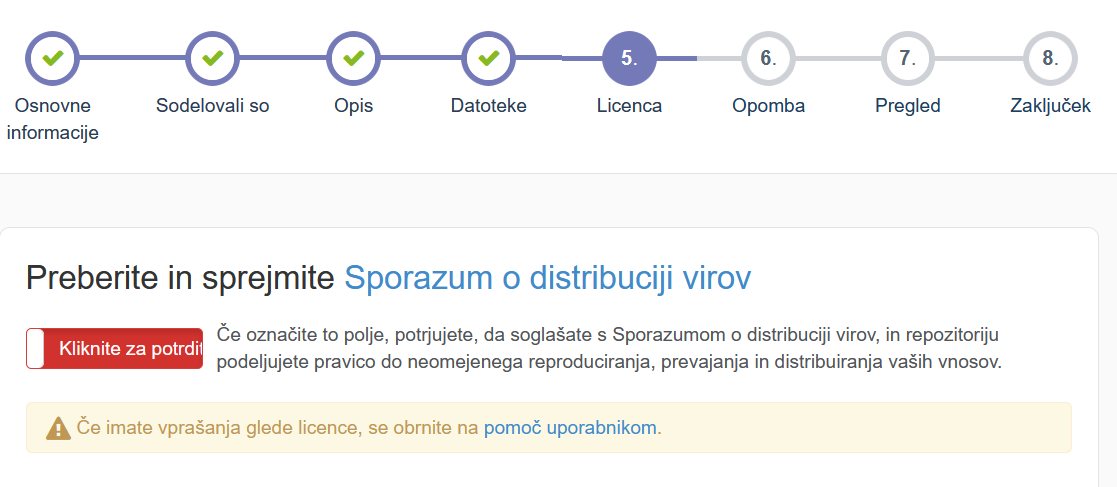
Ko naložite datoteke, je potrebno izbrati primerno licenco, pod katero želite distribuirati vaš vnos. Prosimo, pozorno preberite Sporazum o distribuciji virov in kliknite na rdeče polje, da označite svoje soglasje (polje se bo obarvalo zeleno).
Temu sledi izbira ustrezne licence za podatke.

Vmesnik ponuja dva načina izbire licence. Prvi način poteka preko izbirnika licence "OPEN Licence Selector", ki vam pomaga pri izbiri licence tako, da odgovorite na različna vprašanja o vašem vnosu in vaših zahtevah.

Drugi način je izbira licence s spustnega seznama pod "Izberite licence", kjer lahko tudi vnesete nekaj besed iz zahtevane licence, da zožite izbor. Lahko tudi brskate po strani z razpoložljivimi licencami CLARIN.SI. Če nobena od obstoječih licenc ne ustreza vašim zahtevam, se obrnite na našo Službo za pomoč uporabnikom.
Nabori podatkov, ki zahtevajo podpis licence
Čeprav CLARIN.SI preferira odprte podatke in odprtokodne programe, razumemo, da to ni vedno mogoče. Zato vam lahko zagotovimo, da morajo uporabniki za prenos vaših podatkov opraviti avtentikacijo in podpisati licenco (glejte Omejeni vnosi). Če potrebujete več informacij o uporabniku kot samo avtentikacijo preko njihove matičen institucije, lahko uporabnike zaprosimo za nekatere specifične atribute, ki so podobni standardnim internetnim obrazcem. To je smiselno predvsem za podatke, ki imajo v svoji licenci dodano klavzulo "brez ponovne distribucije".
Zaslon 6: Opombe za urednika
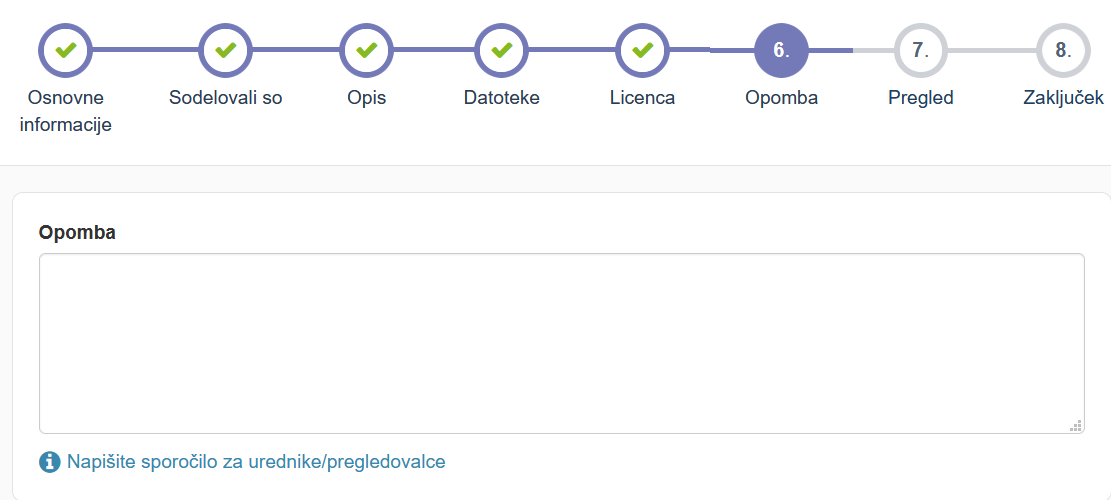
Če imate dodatne informacije o vnosu, ki jih želite posredovati urednikom, lahko pustite sporočilo za urednike/pregledovalce.
Zaslon 7: Pregled in oddaja vnosa
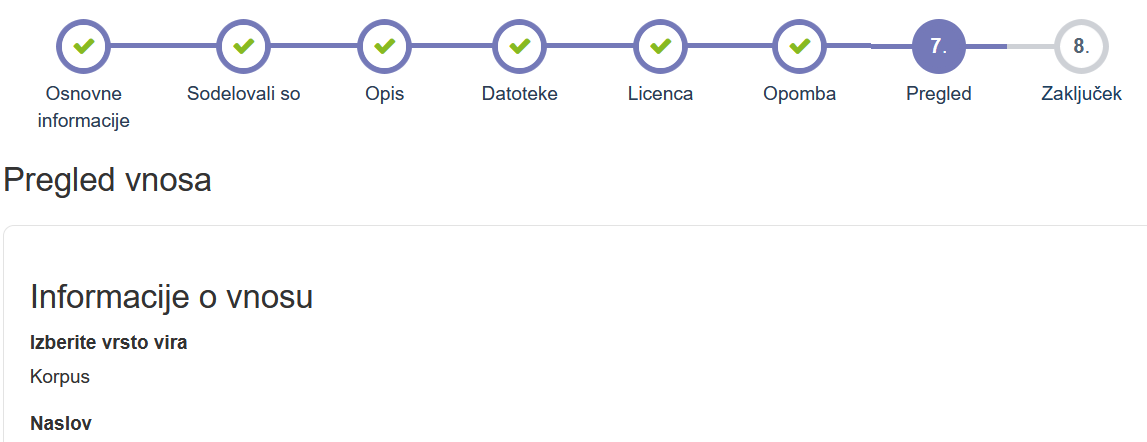
V tem koraku pregledate svoj vnos pred oddajo. Stran za pregled vnosa vsebuje podokno za vsakega izmed korakov, ki ste ga izpolnili. Če želite spremeniti katerokoli polje v določenem koraku, kliknite "Popravi enega izmed teh" in popeljalo vas bo neposredno na ustrezni zaslon kjer lahko uredite vaš vnos. Ko preverite vse podrobnosti vnosa, lahko oddajo vnosa zaključite z klikom na "Oddaj vnos".
Po v koraku pregleda kliknete na "Oddaj vnos", nakar bo vnos poslan v uredniški pregled. Ko bodo uredniki vnos odobrili, se bo ta pojavil v repozitoriju. V primeru, da uredniki v vašem vnosu odkrijejo težave, vnos uredniki zavrnejo in pojasnijo, zakaj je bil vnos zavrnjen in kaj je potrebno popraviti, da bo vnos sprejemljiv.